How to Bake a Classic Vanilla Sponge Cake
Baking a classic vanilla sponge cake is a fundamental skill that opens the door to a wide range of desserts, from simple tea cakes to elaborate layer cakes for celebrations. The process relies on a few key techniques: whipping eggs and sugar to incorporate air, gently folding in flour to maintain that air, and baking the batter until it is just set. While the ingredient list is short, the method demands attention to detail. This article outlines a step-by-step approach to creating a light and fluffy sponge cake, with explanations of why each step matters.
Sponge cakes are distinguished from butter cakes by their lack of chemical leaveners and solid fats. Instead, they achieve their rise from the air beaten into eggs, which expands in the oven. This makes them versatile and relatively neutral in flavor, ideal for soaking up syrups or pairing with rich fillings. Whether you are baking for a birthday, a holiday, or simply a weekend treat, mastering the sponge cake provides a reliable foundation for many desserts.
In the following sections, we will cover the essential ingredients and equipment, the mixing and baking process, common pitfalls and how to avoid them, and finally, ideas for filling and decorating your sponge cake. Each step includes practical tips and explanations to help you understand the underlying principles. By the end, you will have the knowledge to produce a consistently light and airy cake that can be adapted to various occasions.
Ingredients and Equipment for a Classic Vanilla Sponge Cake
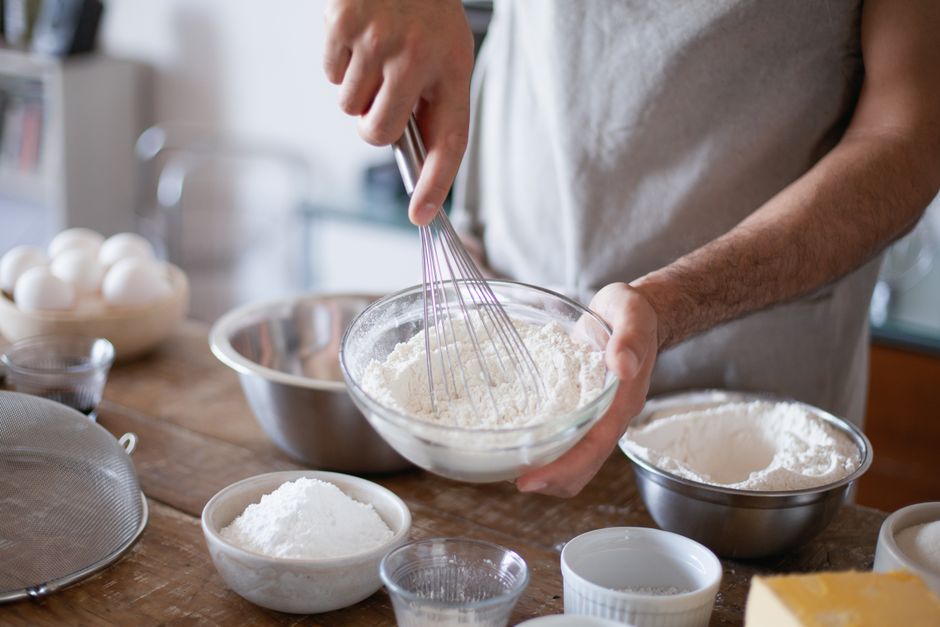
Before starting, gather all ingredients and allow them to come to room temperature. Room-temperature eggs whip more easily and create a more stable foam. The basic ingredients for a classic vanilla sponge cake include eggs, granulated sugar, cake flour, vanilla extract, and a small amount of salt. Some recipes also call for a little melted butter or oil for moisture, but a traditional sponge relies solely on eggs for structure and richness. For a standard 8-inch round cake, you will need about 4 large eggs, 1/2 cup of sugar, 3/4 cup of cake flour, 1 teaspoon of vanilla extract, and a pinch of salt. If you plan to make a layer cake, consider doubling the recipe.
Equipment-wise, you will need two clean mixing bowls, an electric mixer with whisk attachment (or a hand mixer), a sifter or fine-mesh strainer, a rubber spatula, and an 8-inch round cake pan (or two for layers). Parchment paper and a little butter or nonstick spray for greasing the pan are also helpful. A scale for measuring ingredients by weight can improve consistency, but volume measurements work if you fluff the flour and spoon it into the cup. Always preheat your oven and prepare your pan before you begin mixing, as the batter should be baked immediately after it is assembled.
It is also important to note that the quality of your vanilla extract can influence the final flavor. Pure vanilla extract is preferred over imitation for a richer taste. If you are baking for someone with dietary restrictions, you can substitute the cake flour with a gluten-free blend, but the texture may vary. For those who wish to add a personal touch, consider incorporating a teaspoon of finely grated citrus zest or a pinch of ground spice, though classic vanilla remains the standard.
Step-by-Step Mixing and Baking Process
The mixing process begins by separating the eggs, placing the whites in one bowl and the yolks in another. Using a clean bowl for the whites is crucial; any trace of fat can prevent them from whipping properly. Beat the egg whites on medium speed until they become frothy, then gradually add half of the sugar while continuing to beat. Increase the speed to high and whip until stiff peaks form. The whites should look glossy and hold their shape when the beaters are lifted. This may take 3 to 5 minutes depending on your mixer. In a separate bowl, whisk the egg yolks with the remaining sugar until they are pale and thickened, then stir in the vanilla extract.
Next, gently fold the yolk mixture into the whipped whites using a rubber spatula. Use a light hand and a figure-eight motion to avoid deflating the foam. Once combined, sift the cake flour and salt over the mixture in three additions, folding gently after each. Stop as soon as the flour is incorporated; overmixing can lead to a dense cake. If you are adding melted butter or oil, fold it in last, taking care not to deflate the batter. The final batter should be airy and voluminous.
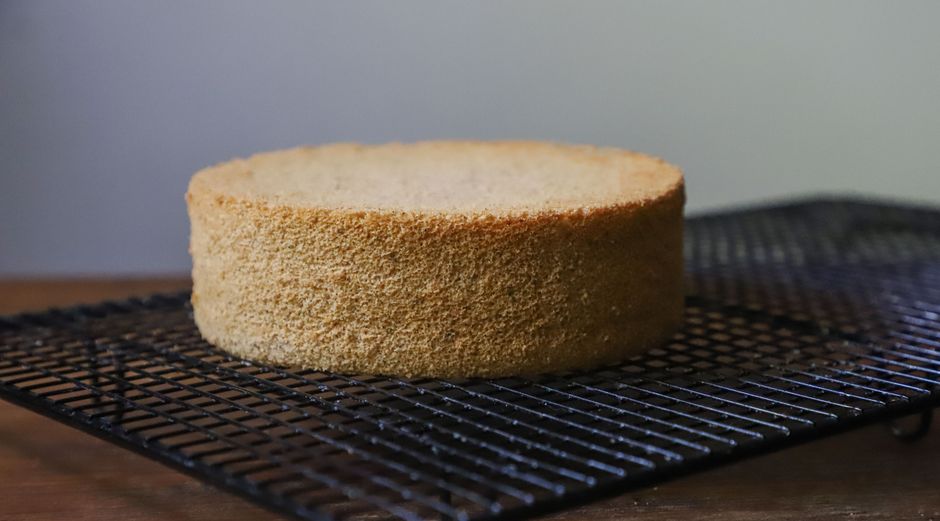
Pour the batter into the prepared pan and smooth the top with a spatula. Bake in a preheated oven at 350°F (175°C) for about 20 to 25 minutes, or until the cake is golden brown and springs back when lightly touched. A toothpick inserted into the center should come out clean. Avoid opening the oven door during the first 15 minutes of baking, as a sudden drop in temperature can cause the cake to collapse. Once baked, remove the cake from the oven and let it cool in the pan for 10 minutes, then run a knife around the edge and invert onto a wire rack to cool completely.
Common Pitfalls and How to Avoid Them
Even experienced bakers can encounter issues when making sponge cakes. One of the most common problems is deflation, which can occur if the egg whites are under-whipped, if the batter is overmixed, or if the oven temperature is too low. To prevent this, ensure your egg whites reach stiff peaks and fold ingredients gently. Another issue is a dry or rubbery texture, often caused by overbaking or using too much flour. Measuring flour accurately by weight or using the spoon-and-level method can help. Additionally, if your cake sinks in the middle, it may be due to opening the oven too early or using cold eggs.
Another pitfall is uneven rising, which can happen if the batter is not spread evenly in the pan or if the oven has hot spots. Rotating the pan halfway through baking can help, but only after the cake has set. If you are baking at high altitude, you may need to adjust the amount of sugar or oven temperature. For those using a convection oven, reduce the temperature by 25°F to prevent excessive browning. Keep in mind that sponge cakes are delicate and rely on proper technique, so practice and attention to detail will improve your results over time.
Finally, be cautious when removing the cake from the pan. Letting it cool slightly before inverting helps prevent cracking. If the cake sticks, run a thin knife around the edge. With these precautions, you can avoid common mistakes and achieve a consistently light and fluffy sponge.
Filling, Decorating, and Serving Suggestions
Once your sponge cake has cooled completely, it is ready to be filled and decorated. For a classic layer cake, slice the cake horizontally into two or three even layers using a serrated knife. A gentle sawing motion works best. Between the layers, you can spread a variety of fillings: whipped cream, pastry cream, jam, or fresh fruit. For a celebration cake, consider a filling of vanilla buttercream and a layer of strawberry preserves. The neutral flavor of the sponge pairs well with both rich and fruity fillings.
To decorate, apply a thin crumb coat of frosting first, then refrigerate for 30 minutes before adding the final layer. This helps seal in crumbs and creates a smooth surface. You can keep the decoration simple with a dusting of powdered sugar, or get creative with piped rosettes, fresh berries, or edible flowers. If you are short on time, a simple glaze made from powdered sugar and milk drizzled over the top is an elegant option. Sponge cakes are also delicious served plain with a cup of tea or coffee.
When serving, allow the cake to come to room temperature for the best flavor and texture. Store any leftovers in an airtight container in the refrigerator for up to three days. For longer storage, wrap individual slices tightly and freeze for up to two months. Whether you are baking for a special occasion or a simple family dessert, a homemade vanilla sponge cake is a versatile and rewarding endeavor. With practice, you can adapt the recipe to suit your tastes and dietary needs.